How to backup Office 365 with Nordic Backup
by admin | Jul 15, 2020 | guides |
| Print User Guide |
|
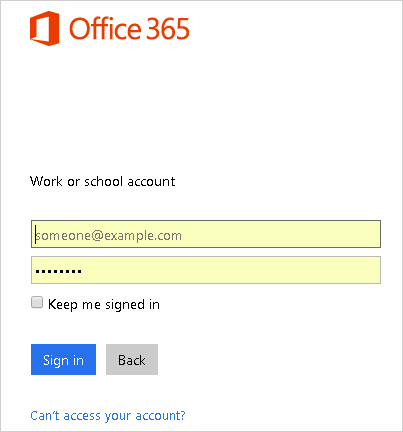
1. Sign into the Exchange Admin Center
Using an Administrative account, Sign into the Exchange Admin Center at https://outlook.office365.com/ecp |
 |
|
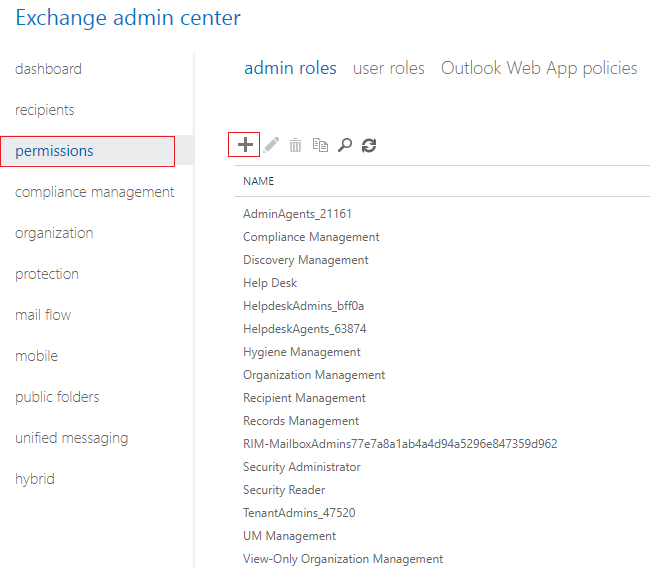
2. Add new role group
Click on Permissions on the left side menu.
Under Admin Roles, click on the Plus (+) button to create a new role group. |
 |
|
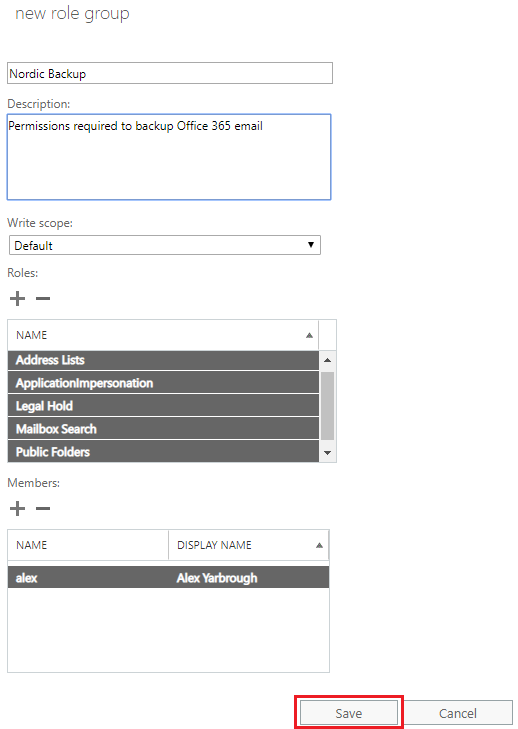
3. Modify role group
Give the role group a name such as “Nordic Backup”, and assign the following roles to it:
Address Lists
ApplicationImpersonation
Legal Hold
Mailbox Search
Public Folders
Add yourself to the members list, and click Save. |
 |
|
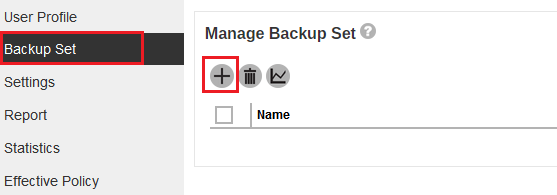
4. Create Backup set on Backup Server
Log on to the Nordic Backup Server by using the credentials and Backup Server address from your Nordic Backup welcome email.
Click User to manage your settings.
Click the Backup Set menu item on the left, and then click the Plus (+) button to create a new backup set. |
 |
|
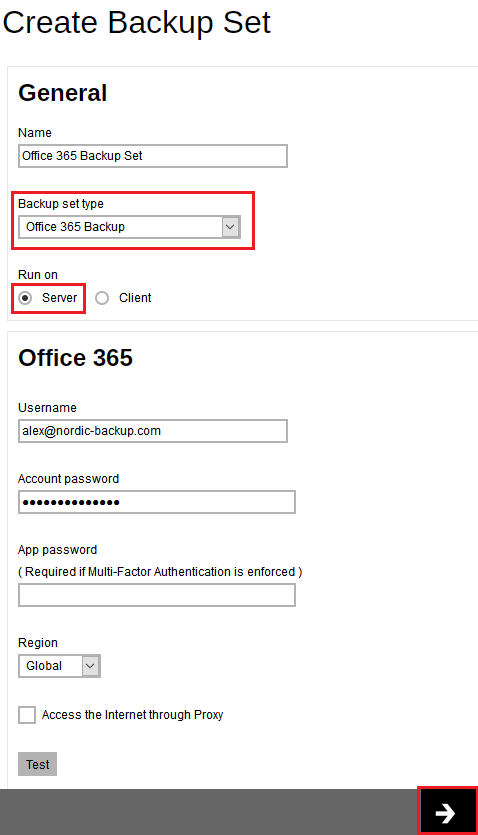
5. Configure Backup set
Give the backup set a name like “Office 365 backup”.
Set the Backup set type to Office 365 Backup.
Set the Run on setting to “Server”.
Enter your Office 365 user name and password, and click the Next button. |
 |
|
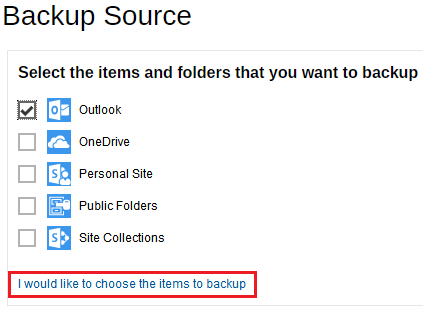
6. Select backup source
Select the items you want to backup, and click Next.
For a more advanced view of the backup source, click “I would like to choose the items… |
 |
|
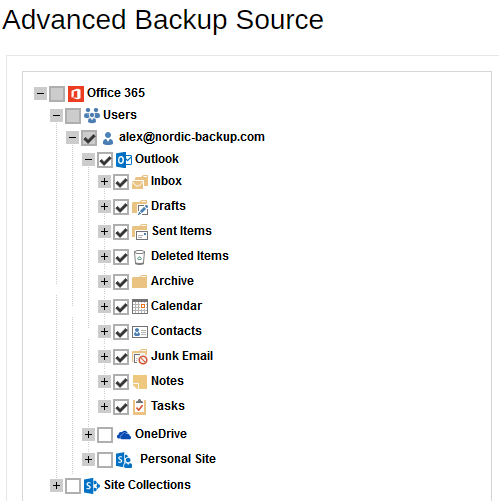
7. Advanced Backup Source
Here you can select and de-select individual users and items |
 |
|
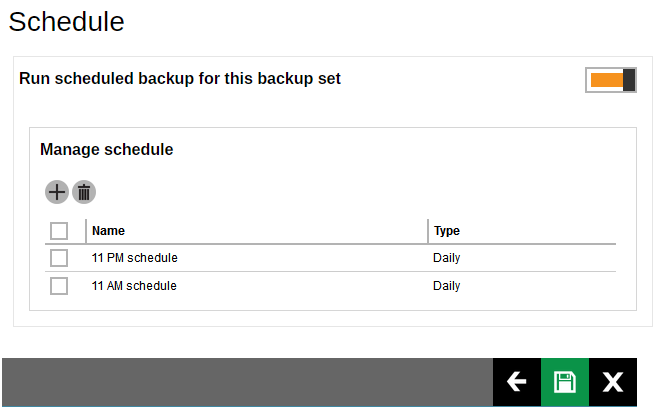
8. Backup Schedule
Configure backup schedules to your liking, and click Save |
 |
| Your Office 365 backup is now ready to run as configured, and you can manually start it from the Manage Backup Set page. |
|
| US v1.0 |
|
|
|
|