| How to backup Shadow Protect Image with Nordic Backup Pro |
|
|
| Print user guide |
|
| StorageCraft ShadowProtect is a third party software offered by Nordic Backup to run image-level backups on your server. Please contact Nordic Backup Sales to acquire a license key.
The first steps to setup an image backup job with Nordic Backup Pro is to download and install StorageCraft ShadowProtect.
Download the ShadowProtect MSP edition from the link provided with your serial number from Nordic Backup.
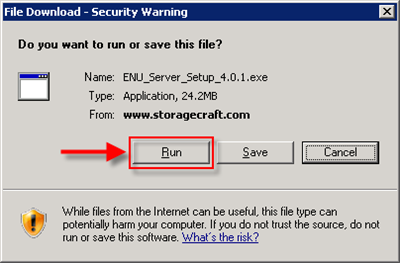
When given the choice to Run or Save the file, we recommend you select "Run". |
 |
|
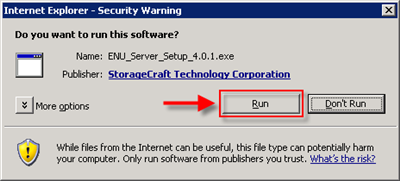
| If you are prompted with a security warning, click "Run". |
 |
|
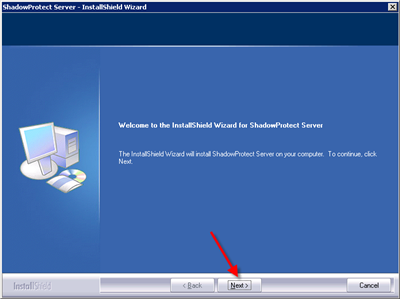
| Click on "Next" on the first screen of the installation. |
 |
|
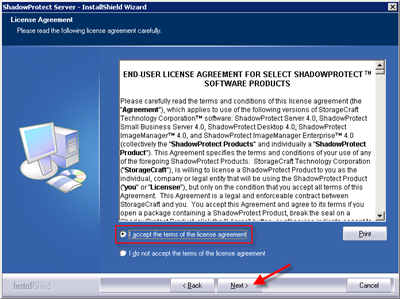
| Click on the radio button next to "I accept the terms of the license agreement", then click "Next". |
 |
|
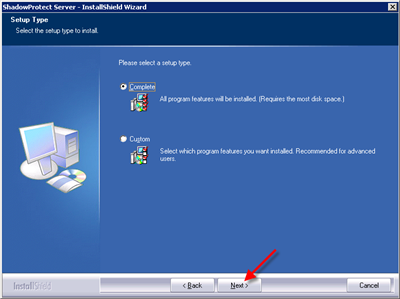
| The default option is to install the complete version of the ShadowProtect software, click on "Next". |
 |
|
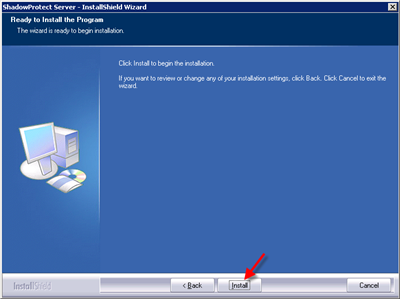
| Click on "Install" to run the installation tasks. |
 |
|
|
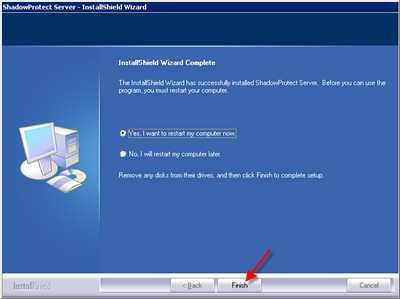
| We recommend you reboot the server immediately after installation. Click on "Finish" to complete the installation and reboot. |
 |
|
| After the server has been rebooted, open the ShadowProtect Server software in the start menu. |
 |
|
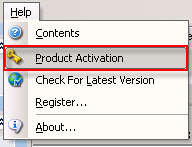
| At the top of the program, click on "Help", then "Product Activation". |
 |
|
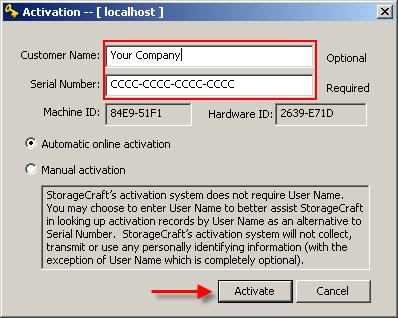
| In the Product Activation dialog box, you will need to enter your "Customer Name" and your "Serial Number". Click on "Activate" at the bottom.
After activation, a webpage will launch for additional information. It is not necessary since Nordic Backup has issued your serial number. You may close your web browser. |
 |
|
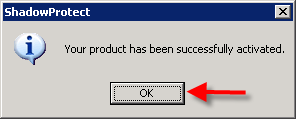
| Click on "OK" to complete the activation of the license. |
 |
|
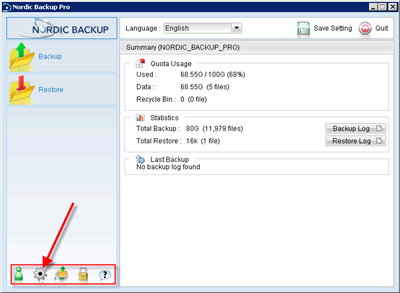
| Launch Nordic Backup Pro, then click on the "Backup Settings" button at the bottom left. |
 |
|
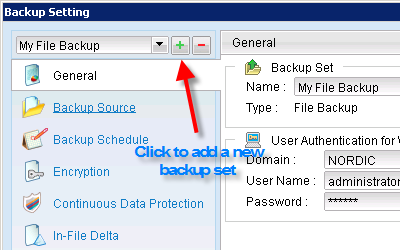
| At the top of the Backup Setting screen, click on the Plus sign to add a new backup set.
Nordic Backup is designed to maintain a separate backup job for each type of backup (File, Database, System State, etc.) and run them simultaneously if their backup times overlap. |
 |
|
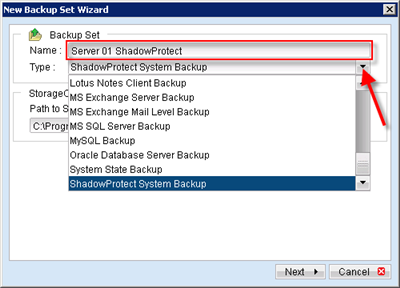
| In the "New Backup Set Wizard", enter the name of the backup set. We suggest using a description based on the server name and the backup job type, for example 'Server 01 ShadowProtect'.
In the drop down box, select the backup type as "ShadowProtect System Backup". |
 |
|
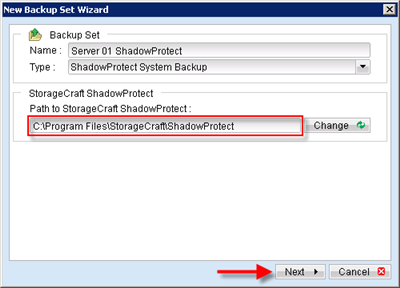
| If you have changed the default installation path of ShadowProtect, make sure to adjust it by clicking on "Change", otherwise just click on "Next". |
 |
|
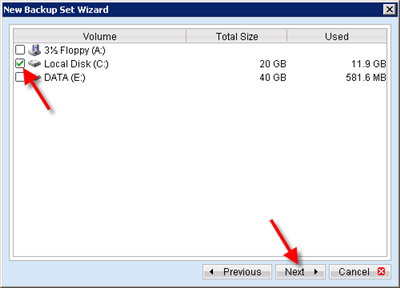
| Check the box next to the drives you wish to protect with the image backup. You may select the drive that is also being backed up with a file level backup as well so that there are multiple layers of backup.
Click "Next" to continue the wizard. |
 |
|
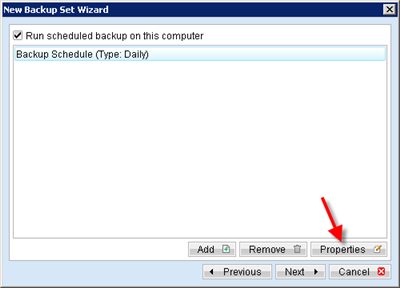
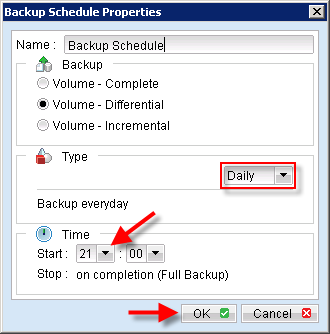
| Set the schedule that you would like to run ShadowProtect backups by clicking on "Properties". |
 |
|
| The default schedule is to run daily at 21:00 (9pm). As shown, backup type is set at "Volume - Differential" by default. The first job will automatically be run as a full backup, regardless of this setting since a full is required to run differential backups.
Click on "OK" when you have completed the changes to the schedule. |
 |
|
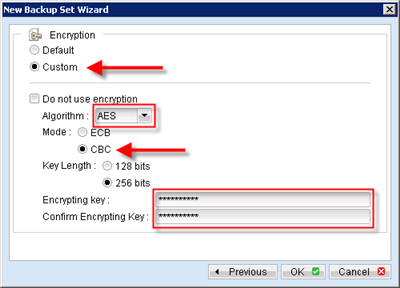
On this screen you may set the encryption for this backup set. You can choose between “Default” and “Custom". If you choose "Default” your files will be encrypted with the password you use to log into the Nordic Backup Pro.
**Note that the encryption key then is fixed and does not change if you subsequently change the password of your account.**
We recommend that you select "Custom" and enter an encryption key of your choice in the 2 bottom boxes. It is important that you choose an encryption key which only you know, thus assuring that you are the only who can access your files through Nordic Backup.
**Please note that your databases cannot be restored without the encryption key. It is important that you keep it in a safe location, in case you lose your computer.**
We recommend that you select the following options for encryption:
- AES algorithm
- CBC mode
- 256 bits
- Your encryption key must be at least 8 characters including upper case letters and lower case letters and at least one number.
Click "OK" to continue. |
 |
|
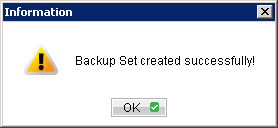
| Click "OK" to finish creating the backup set.
The backup set will run at the regularly scheduled time, and the first backup will be a full image backup. You may initiate a manual backup on the main screen by clicking 'Backup' on the left hand side. |
 |
|
|
After the backup set has been created, there are some advanced settings to check. You will need to ensure that the temporary location for storing the backup has enough free space and is not included in a regular file backup. You should also verify the Retention settings.
By clicking the "Backup Settings" button on the main screen, you can see and change settings for each backup set. |
 |
|
|
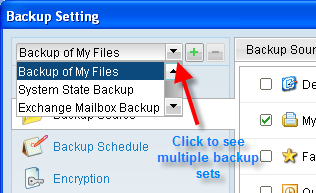
In the "Backup Setting" screen you can adjust any of your backup sets. To select which set to change, click on the drop down arrow button on the main screen, you can see and change settings for each backup set.
If you have backup sets that belong to another machine you are backing up, do not adjust settings except from the client software directly on that machine.
**It is also important not to have more than one instance of Nordic Backup Pro open that are connected to a single account. When you have completed the configuration of the backup client, save the settings and close the software.** |
 |
|
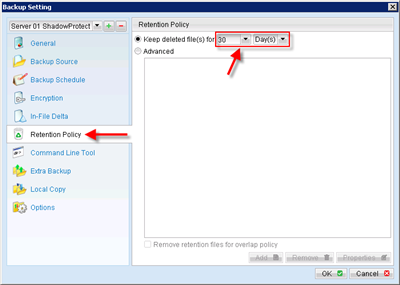
| Retention policy
Retention is an important part of any backup because it specifies how long a changed or older image from the source server are retained on the backup server. By default, Nordic Backup is configured to retain incremental images for 7 days.
However, Nordic Backup Pro can retain all changes for as long as you want, but be advised that all data is counted toward your backup quota. If you would like to increase or decrease your data storage limit, it can be managed through the Nordic Backup website at any time.
We recommend you set Retention time to 30 days minimum. |
 |
|
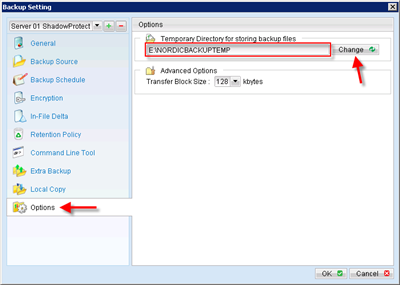
| Options
Here you can select the folder for temporary files. We recommend that you select the drive which has the most free disk space and a separate drive than those being imaged. You may utilize an external drive to temporarily store image files while they are being transferred to the Nordic Backup datacenters. |
 |
| Links |
|
|
| Links
Download the ISO file to create a bootable CD for bare metal restore:
http://storagecraft.com/release/sprelease.asp |
|
| US v1.0 |
| You have now completed the configuration of ShadowProtect Image backup set in Nordic Backup Pro. |
|
|
|